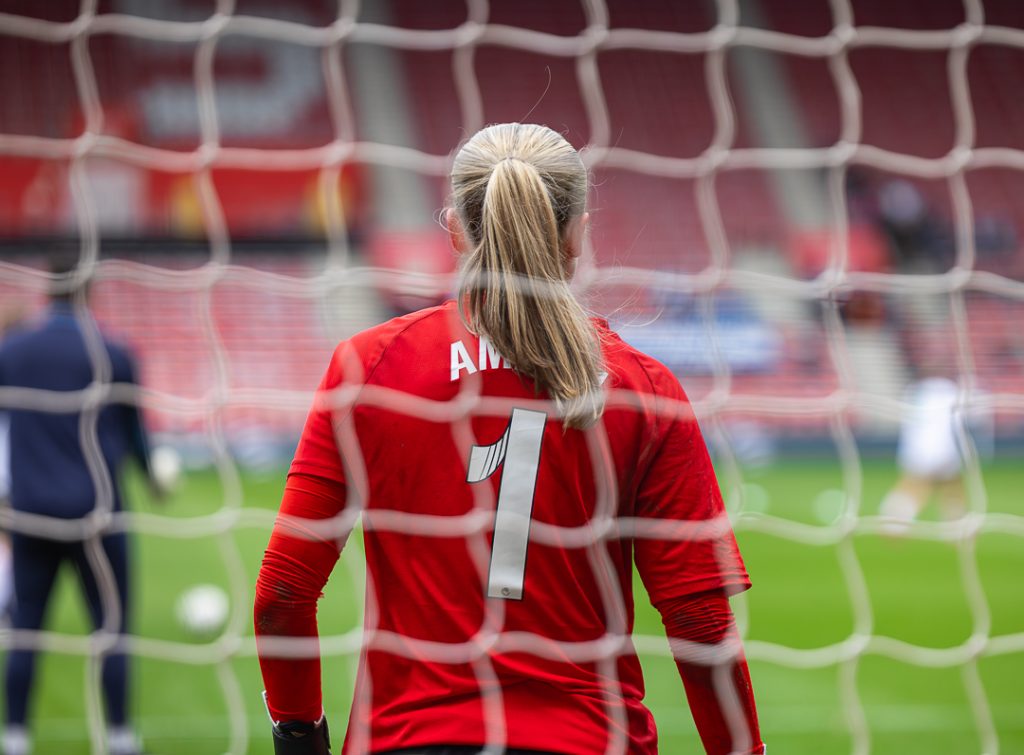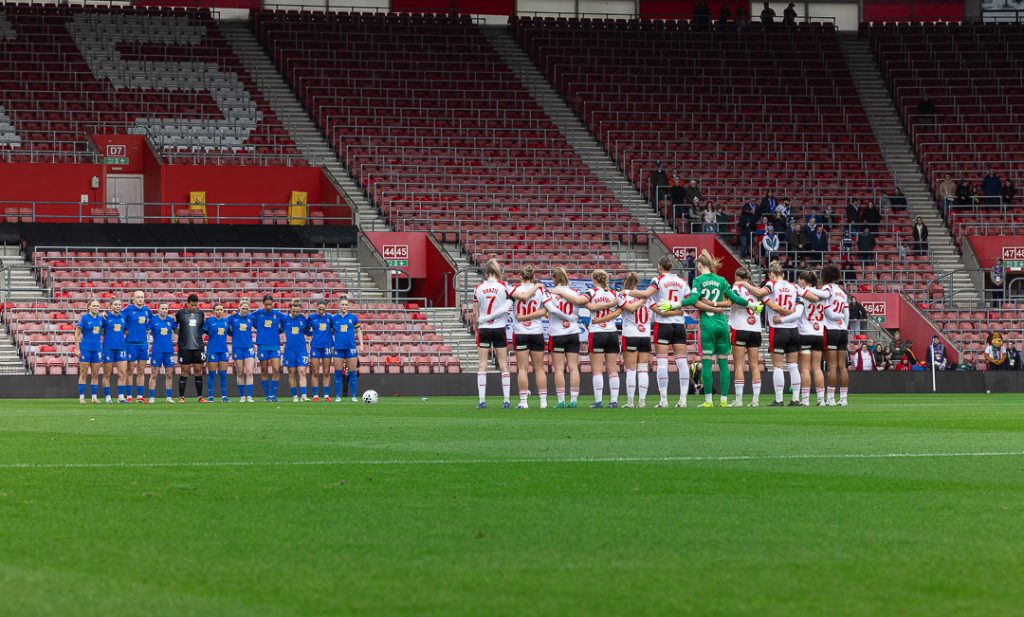
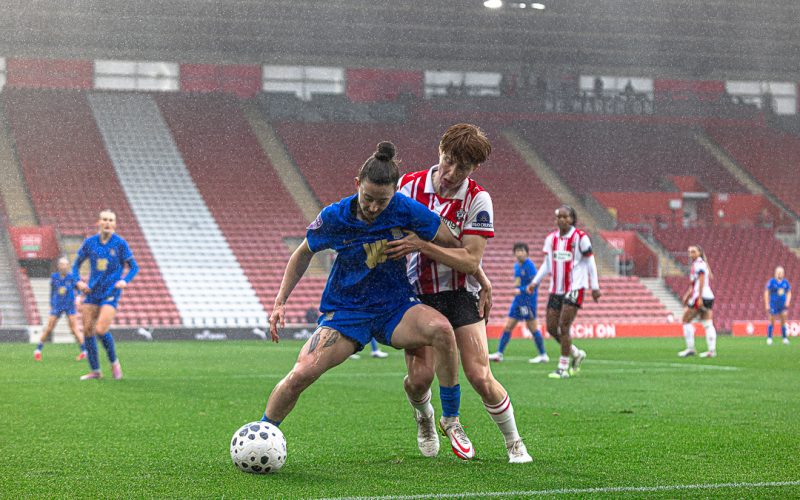
It was a gloomy March afternoon at St Mary’s Stadium as mid-table Southampton hosted promotion-chasing Birmingham City in a hard-fought WSL 2 encounter, which ultimately ended in a narrow 1–0 victory for the visitors. The decisive moment came in the 76th minute, when Asato Miyagawa found the back of the net.
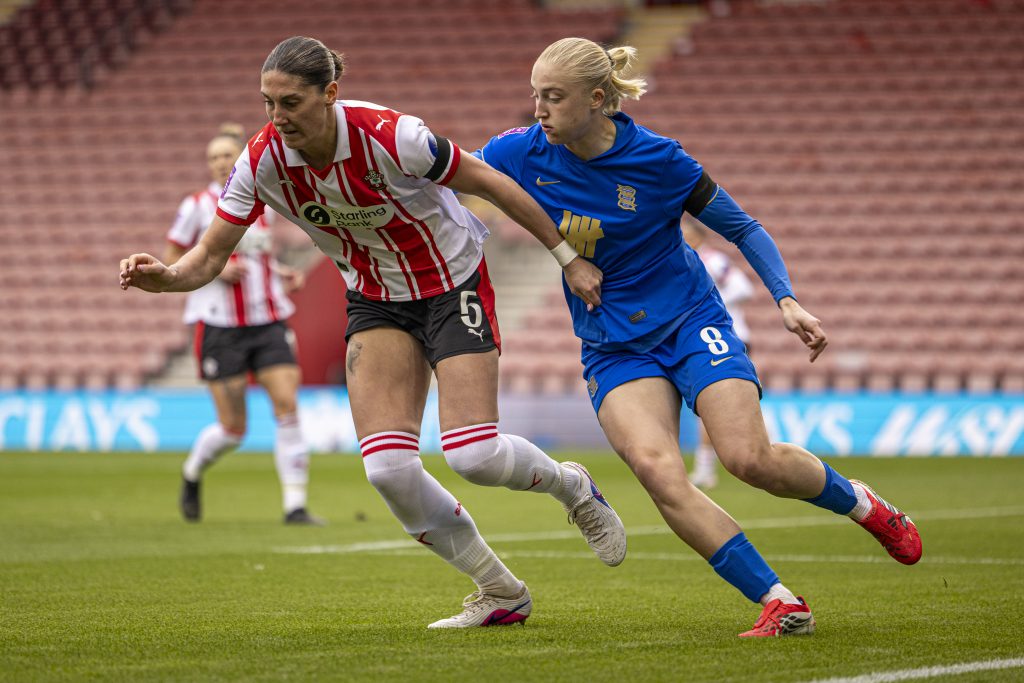
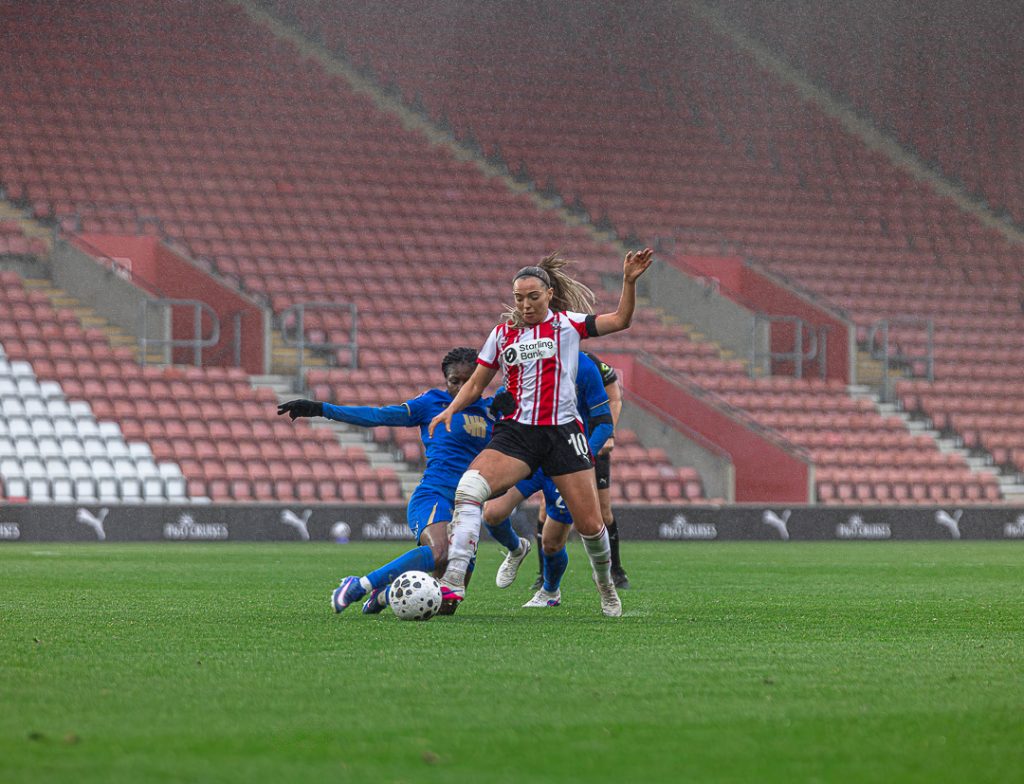
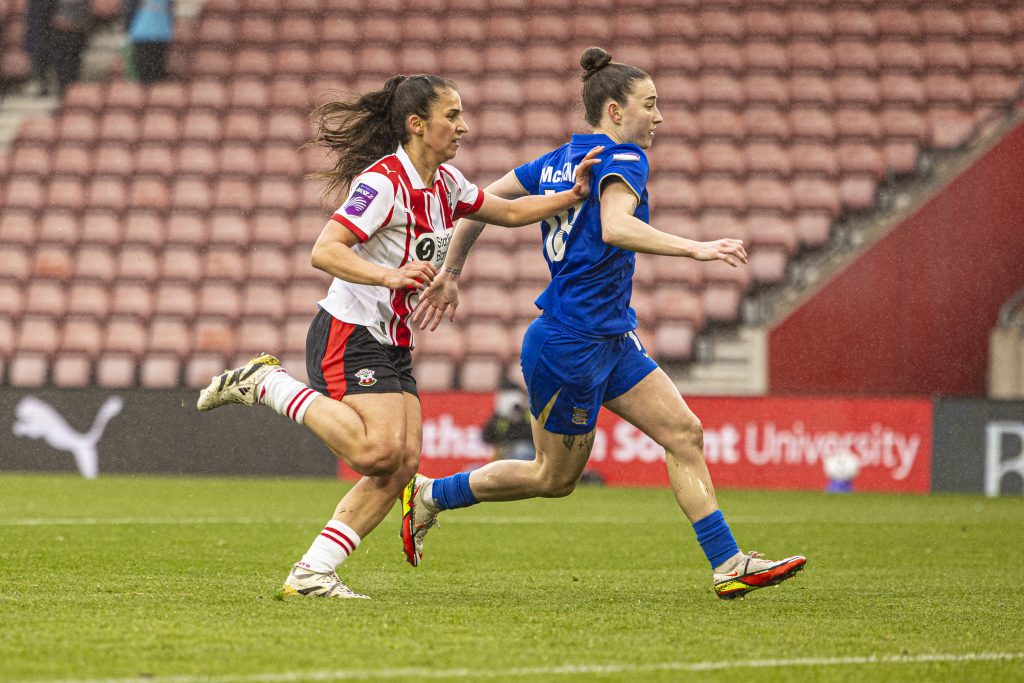
Birmingham City began the match on the front foot, pinning Southampton in their defensive third for much of the first half, with only occasional counterattacks offering respite. Despite seeing less of the ball, however, the hosts created the clearer chances but were unable to make them count. Southampton’s defence held firm under sustained pressure, ensuring the sides went into the break level at 0–0.
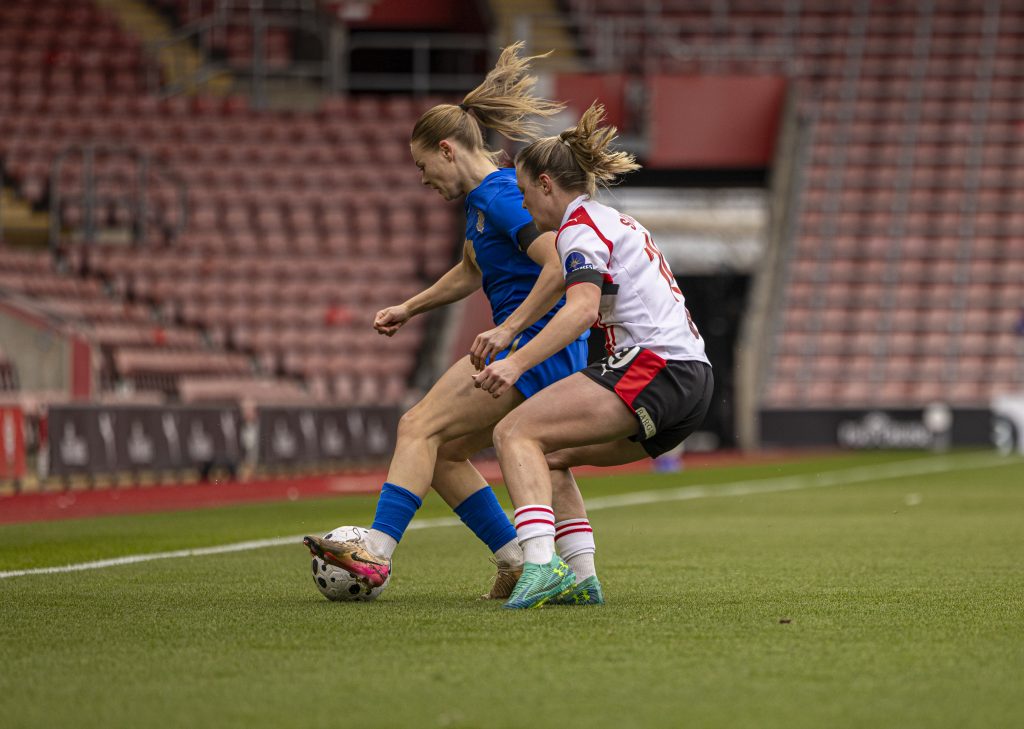
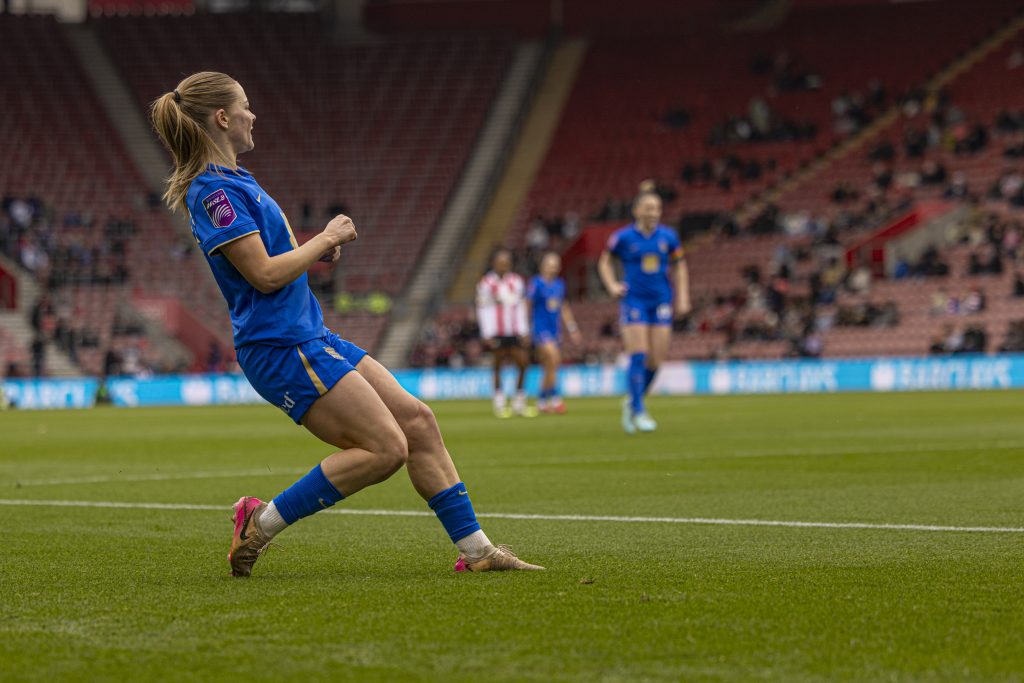
The second half brought a more open, end-to-end contest, with both teams pushing to break the deadlock. Chances came and went at either end, but resolute defending kept the scoreline intact. It wasn’t until the latter stages that the breakthrough arrived, as Miyagawa struck in front of the Northam End to give Birmingham City the lead.
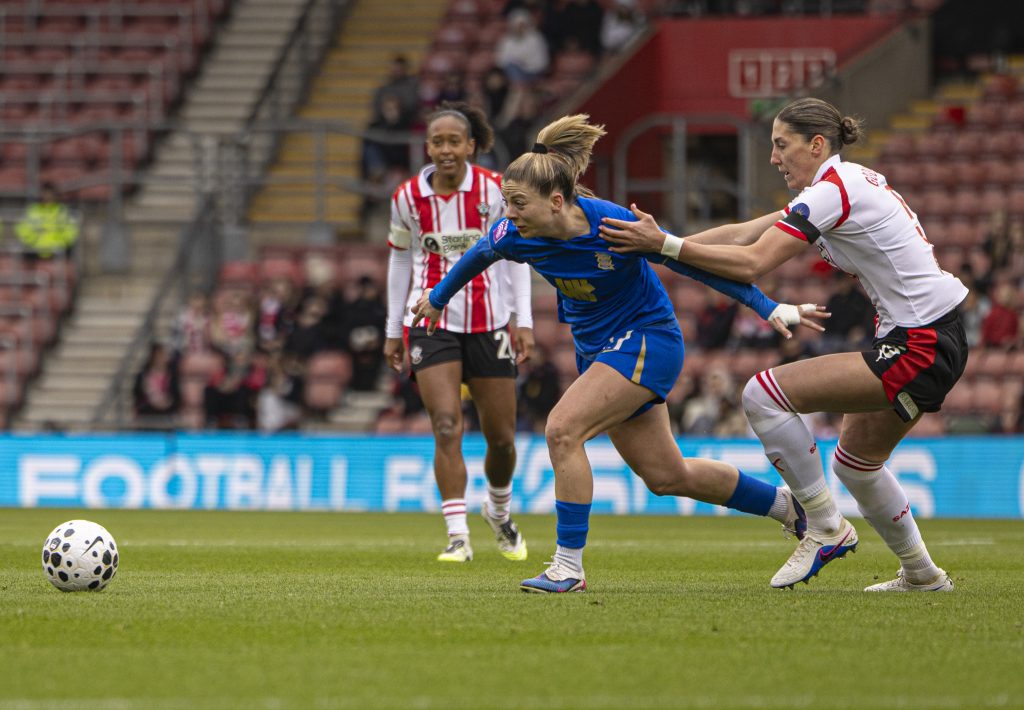
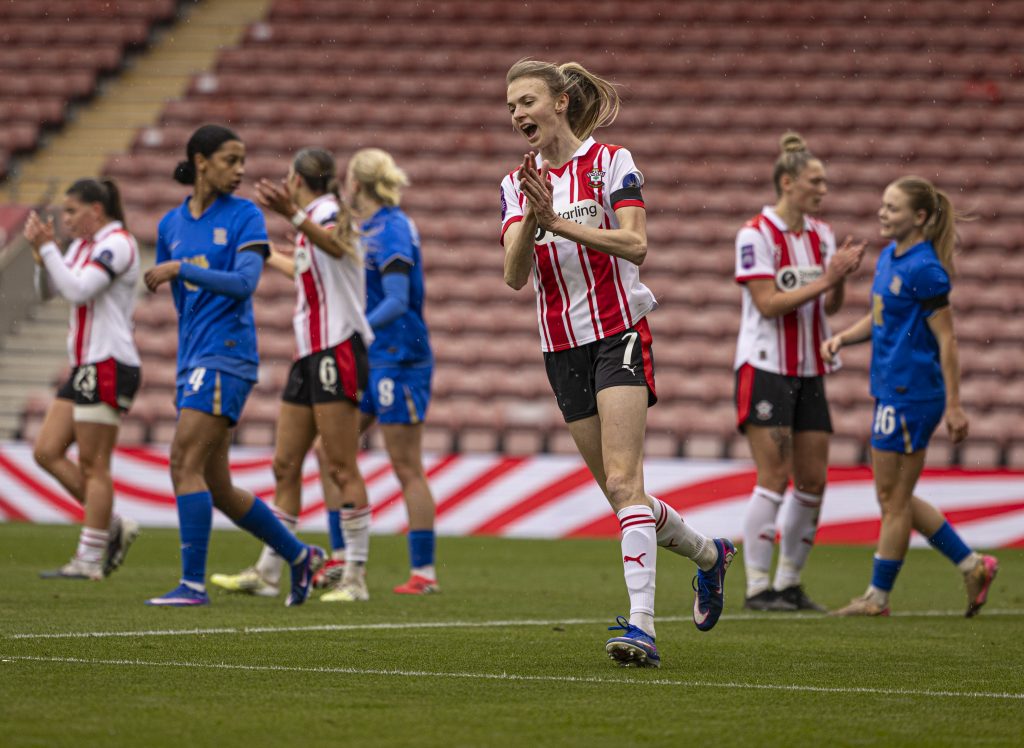
Determined to respond, Southampton pushed forward in the closing minutes and enjoyed the lion’s share of possession. Efforts from the home side flashed narrowly over or wide of the target, but time was not on their side. As the clock ticked down, so too did their hopes of salvaging a result.
At the final whistle, Birmingham City emerged as deserved winners, taking all three points back with them.
Southampton finish the weekend on 24 points, remaining sixth in the table, above Nottingham Forest (20 points) and below Newcastle United (27 points). Birmingham City move to 32 points, consolidating their place in the second automatic promotion spot, with two games in hand on leaders Charlton (41 points) and one on Crystal Palace (31 points), who currently occupy the playoff position.
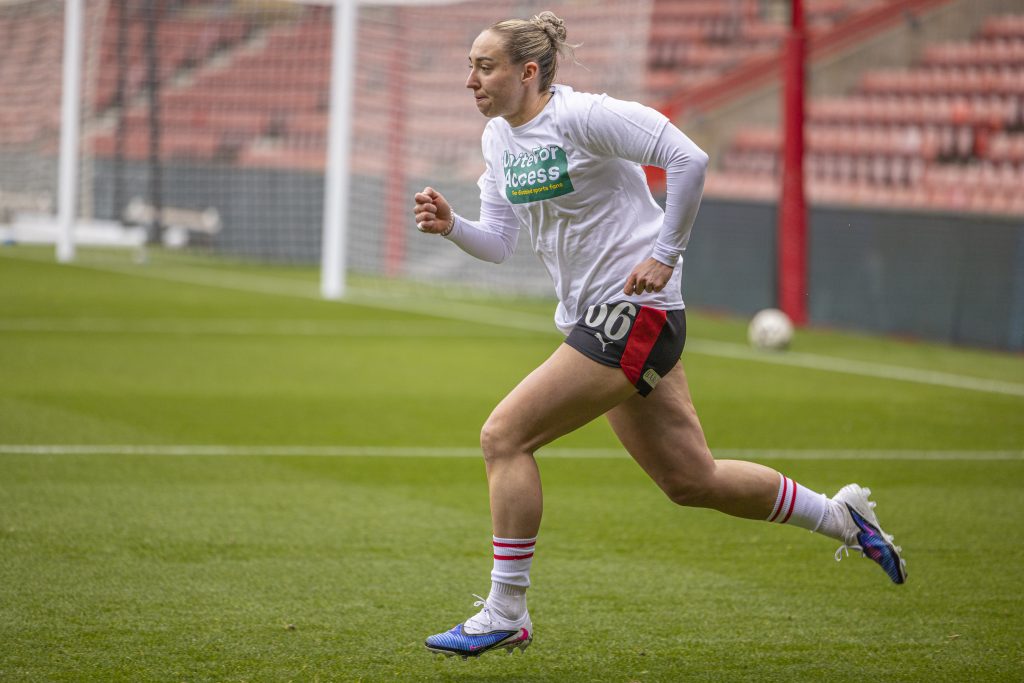
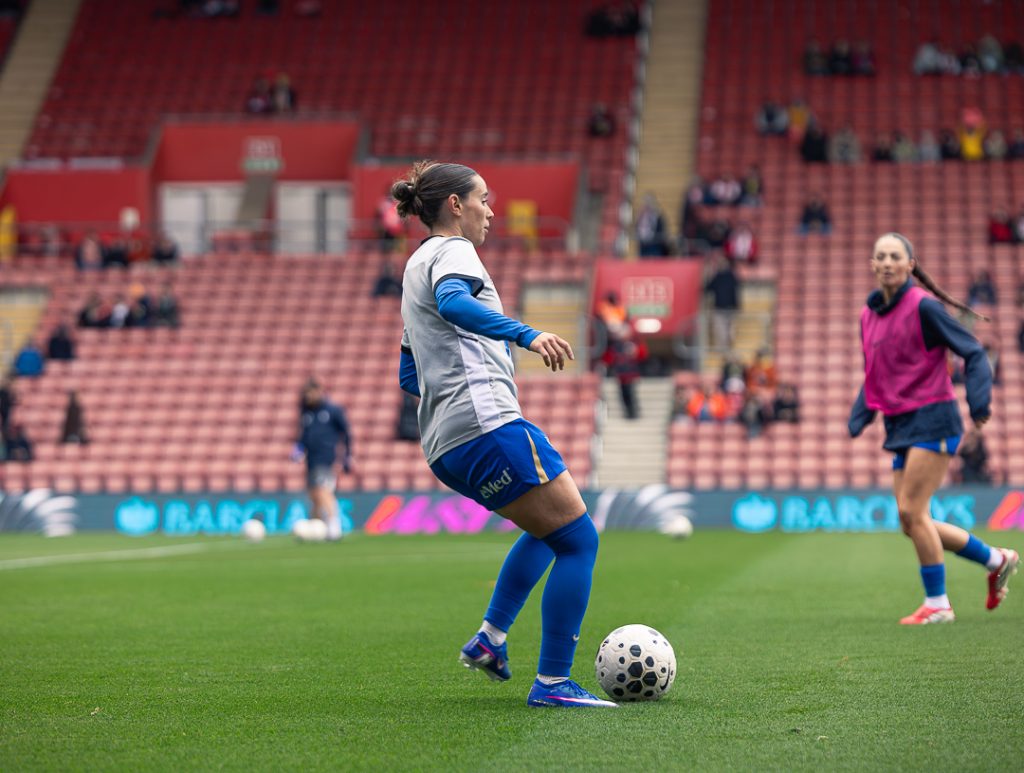
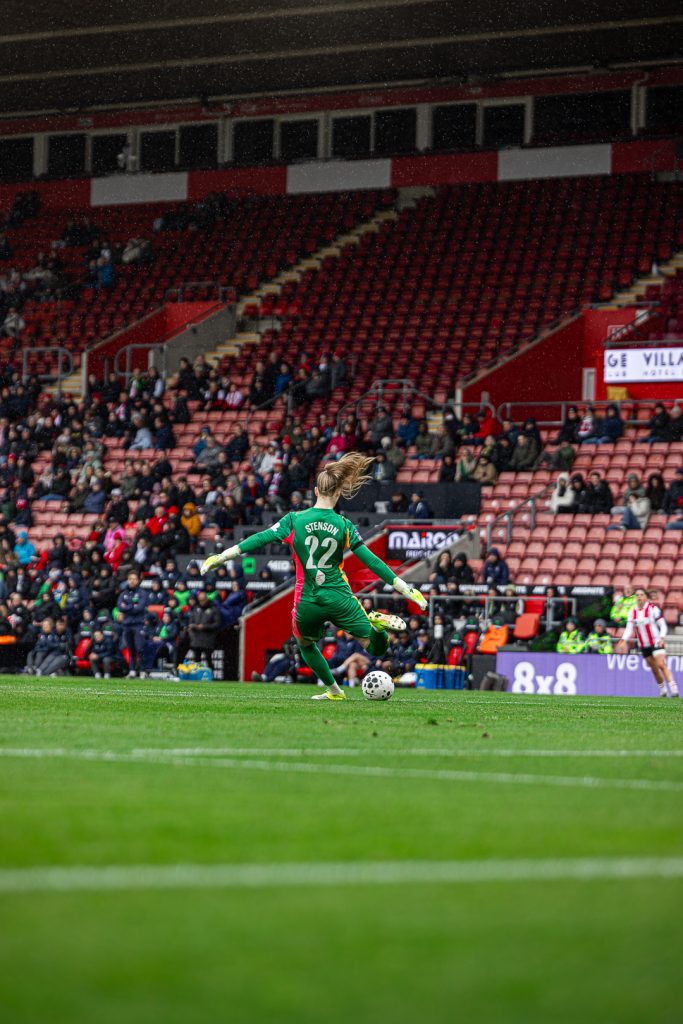
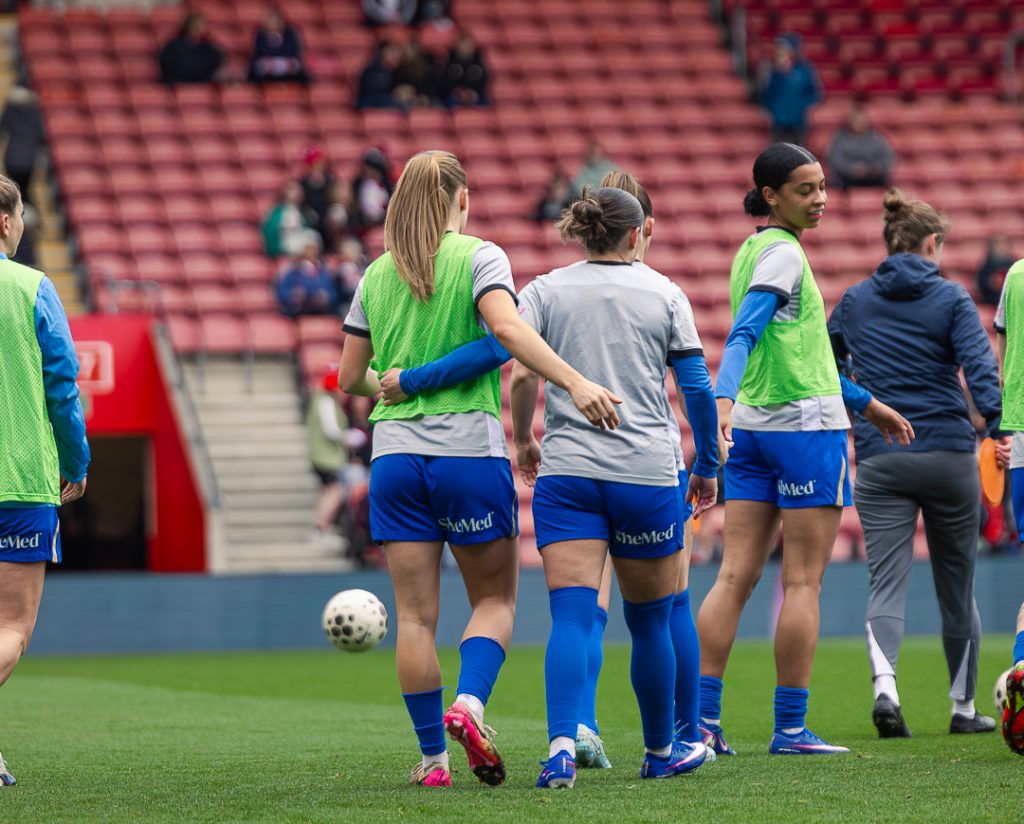
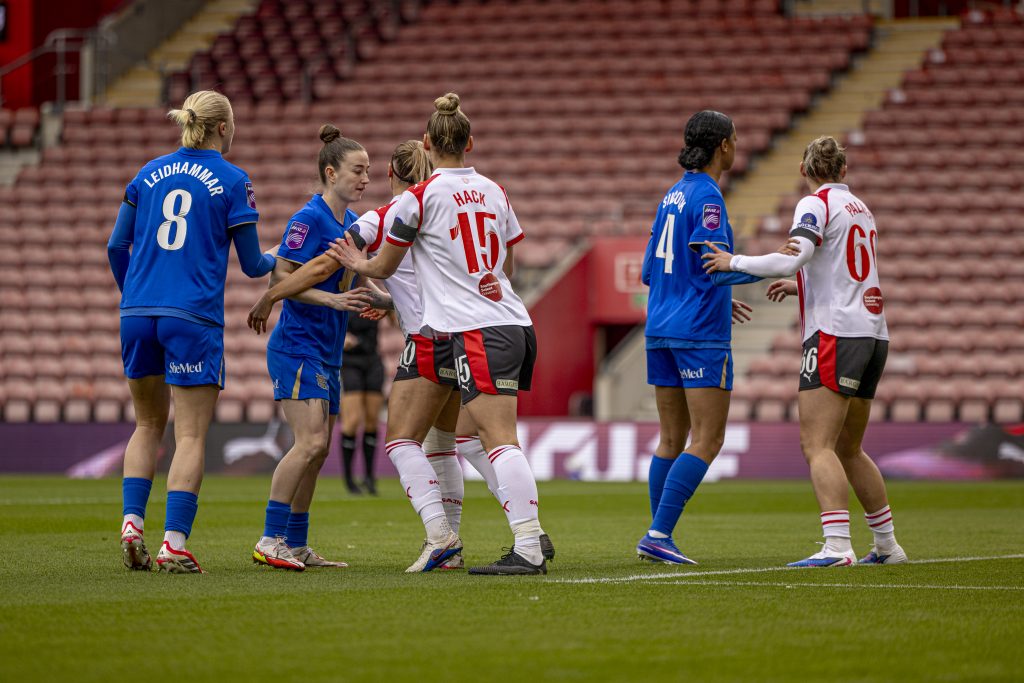
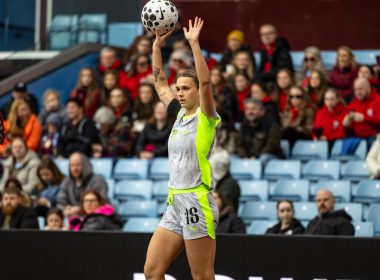
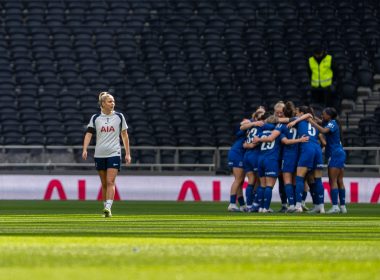
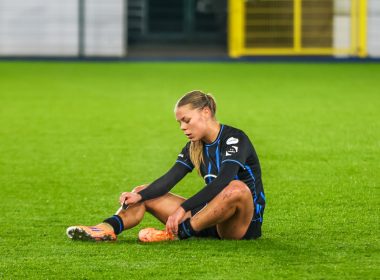
Photographers Charlie Smith and Jack Almond were there to cover all of the action.